

OEM bumper replacements offer precise fitment and advanced safety for vehicles, restoring aesthetics and structural integrity. Technicians carefully remove old bumpers, inspect damage, then install new ones with expert alignment, ensuring lighting perfection and seamless design integration while enhancing both safety and cosmetic appeal.
Looking to replace your vehicle’s OEM bumper? This step-by-step guide breaks down the process, from identifying genuine OEM parts to installing your new bumper with precision. Understanding the key components and following these clear instructions ensures a successful DIY or professional repair. Learn how to navigate each stage, from safely removing the old bumper to aligning and securing the new one, for a seamless OEM bumper replacement that restores your car’s original look and safety features.
- Understanding OEM Bumper Replacement Parts
- Step-by-Step Removal of Old Bumper
- Installation and Alignment of New OEM Bumper
Understanding OEM Bumper Replacement Parts

OEM (Original Equipment Manufacturer) bumper replacement parts are designed to perfectly match your vehicle’s make and model, ensuring both aesthetic accuracy and structural integrity. These parts are not generic or aftermarket alternatives but rather precise replicas of the factory-fitted bumpers. This level of precision is crucial for proper alignment, fitment, and overall safety during collisions.
When considering an OEM bumper replacement, it’s important to understand that these parts typically include a range of components—from the main bumper cover to support brackets and impact absorbers. Each component plays a vital role in vehicle body repair, ensuring not just visual restoration but also enhancing the car’s ability to withstand and mitigate damage during incidents like minor collisions or parking bumps. This process is particularly relevant for those seeking high-quality solutions for car dent removal, aiming to restore their vehicles’ exterior to its original condition.
Step-by-Step Removal of Old Bumper
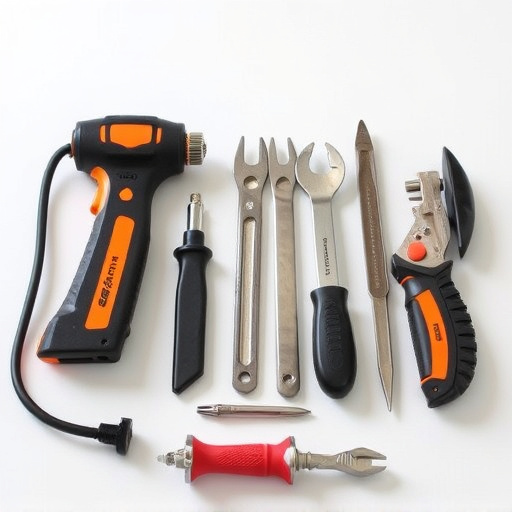
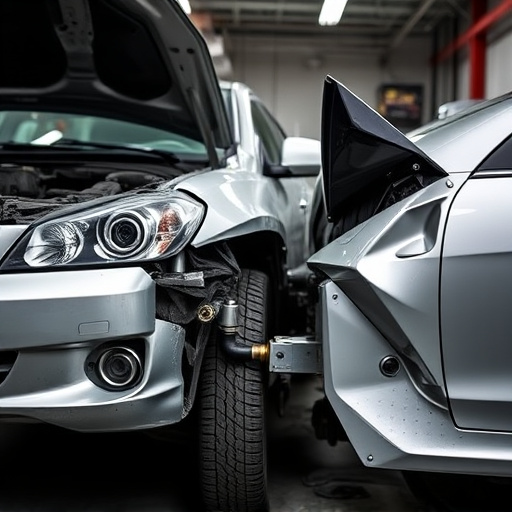
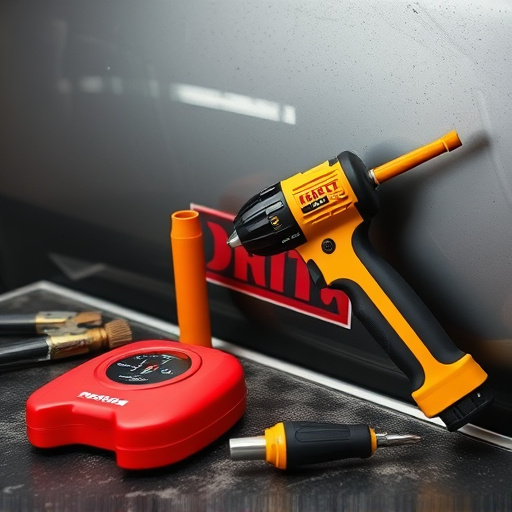
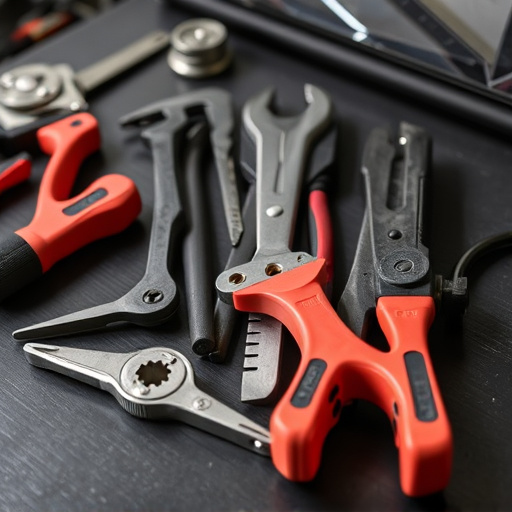
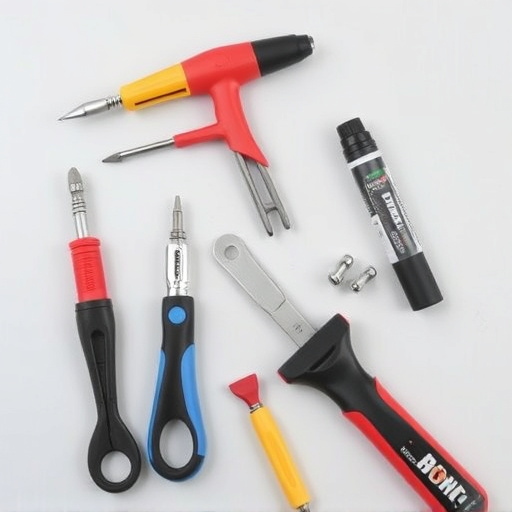
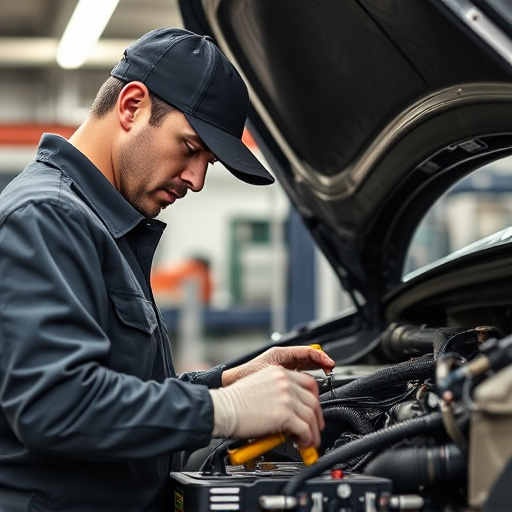
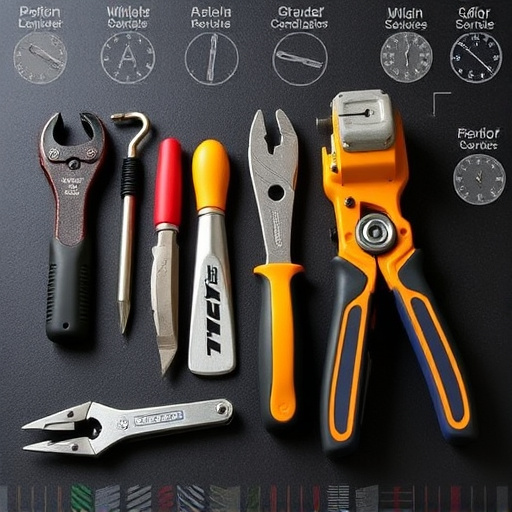
The first step in an OEM bumper replacement is the safe removal of the old bumper. This process typically begins with identifying and securing all connected components, such as lights, sensors, and support brackets. Using specialized tools, technicians carefully disconnect these parts, ensuring no damage occurs during the disassembly. Once these elements are safely removed, the old bumper can be taken off. This involves detaching any remaining bolts or fasteners, often with the help of a power tool, to free the bumper from its mounting points on the vehicle.
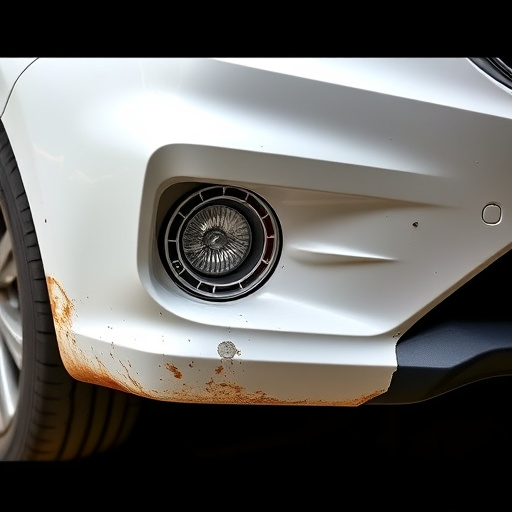
After the old bumper is removed, technicians inspect the underlying structure for any signs of damage or corrosion. This step is crucial in determining the extent of repair needed and ensuring a smooth transition to the new OEM bumper replacement. Proper preparation, including cleaning and repairing any affected areas, sets the stage for a successful installation of auto repair services and car paint services, ultimately enhancing the vehicle’s appearance and safety features.
Installation and Alignment of New OEM Bumper
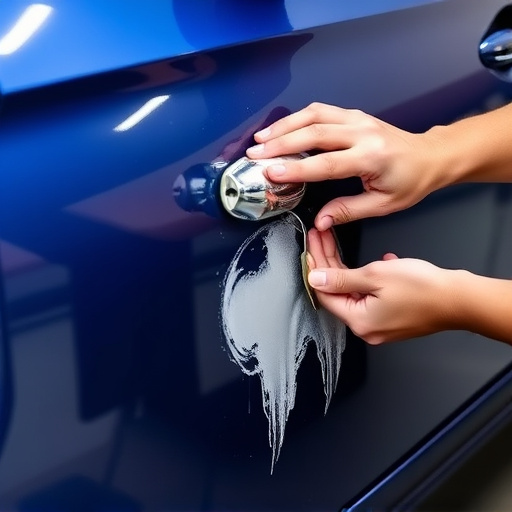
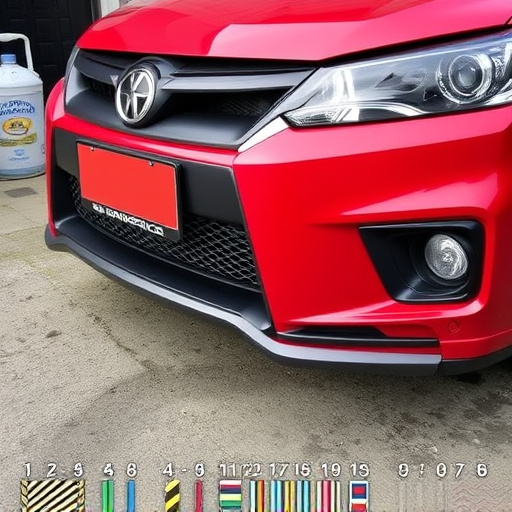
After removing the old bumper during the initial OEM bumper replacement stage, the next step is the installation and alignment of the new one. This process requires precision to ensure a seamless fit that complements the vehicle’s aesthetics. Skilled technicians use specialized tools to measure and adjust the new bumper, aligning it perfectly with the car’s body panels. They carefully apply adhesive and fasteners, securing the bumper in place while ensuring it maintains the vehicle’s original design lines.
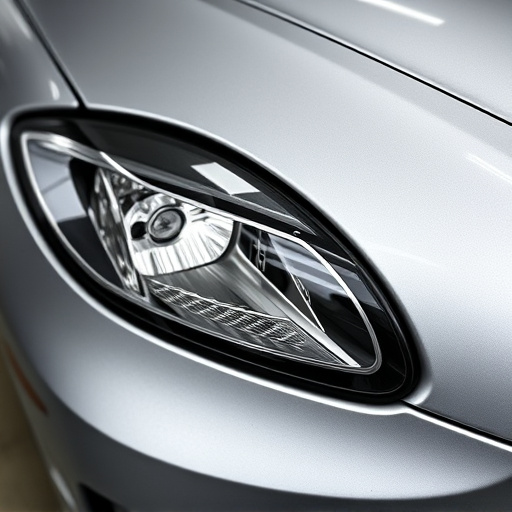
Proper alignment is crucial for both safety and cosmetic reasons. In an auto body shop, experienced mechanics consider factors like lighting angles and shadows to perfect the bumper’s position. This meticulous work, often combined with vehicle paint repair where necessary, ensures that the new OEM bumper replacement blends seamlessly into the car’s overall collision repair, leaving no hint of the previous damage.
The OEM bumper replacement process, detailed in this guide, offers a structured approach for both professionals and DIY enthusiasts. By understanding the specific parts required, meticulously removing the old bumper, and precisely installing and aligning the new OEM bumper, you can ensure a seamless, high-quality repair that maintains your vehicle’s original aesthetic. This step-by-step method, combined with the right tools and expertise, facilitates an efficient and effective OEM bumper replacement.