
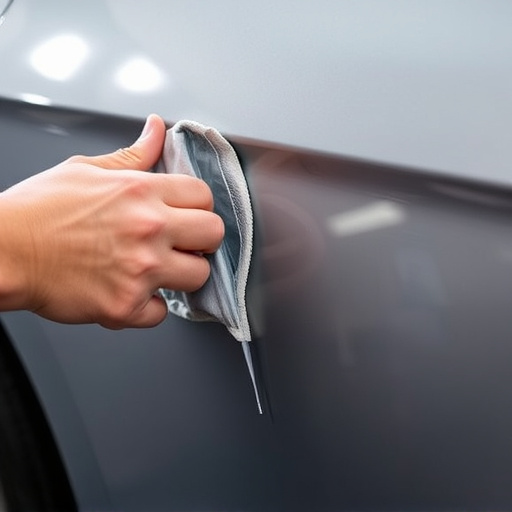
OEM bumper replacement parts offer precise fitment and structural integrity with genuine materials and design specs. Demonting old bumpers requires meticulous precision to ensure seamless installation. Installation involves skilled preparation, alignment, and fastening for optimal vehicle appearance and safety. These methods ensure reliable OEM bumper replacement services.
Looking to replace your vehicle’s OEM (Original Equipment Manufacturer) bumper? This comprehensive guide breaks down the process step-by-step. From understanding the importance of genuine parts and their benefits, to demounting the old bumper and installing a new one, we cover it all. Learn how to ensure a secure fit, maintain your vehicle’s aesthetics, and preserve its resale value with this expert-level DIY approach to OEM bumper replacement.
- Understanding OEM Bumper Replacement Parts
- Demonting the Old Bumper: Step-by-Step Guide
- Installing the New OEM Bumper: A Detailed Process
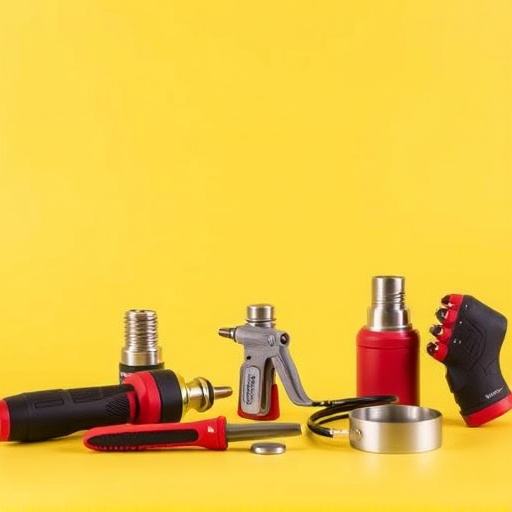
Understanding OEM Bumper Replacement Parts

OEM bumper replacement parts are designed and manufactured to perfectly match a vehicle’s make and model, ensuring both structural integrity and aesthetic accuracy. These genuine parts are created using original design specifications, making them a direct substitute for factory-fitted bumpers. When it comes to repairing or replacing a damaged bumper, choosing OEM parts is essential for several reasons. They offer superior compatibility, guaranteeing a secure fit without the need for extensive modifications.
Using OEM bumper replacement parts also ensures that your vehicle retains its original value and safety standards. These parts are crafted with high-quality materials and undergo rigorous testing to meet or exceed industry safety regulations. Moreover, they can be sourced from trusted automotive manufacturers or their authorized dealers, often backed by warranties, providing peace of mind for tire services and collision center customers seeking reliable automotive repair services.
Demonting the Old Bumper: Step-by-Step Guide
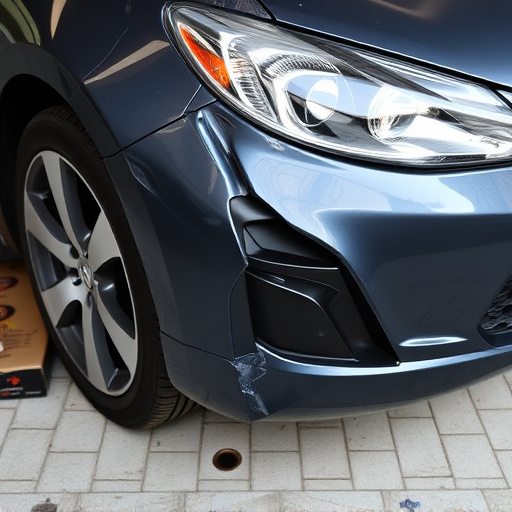
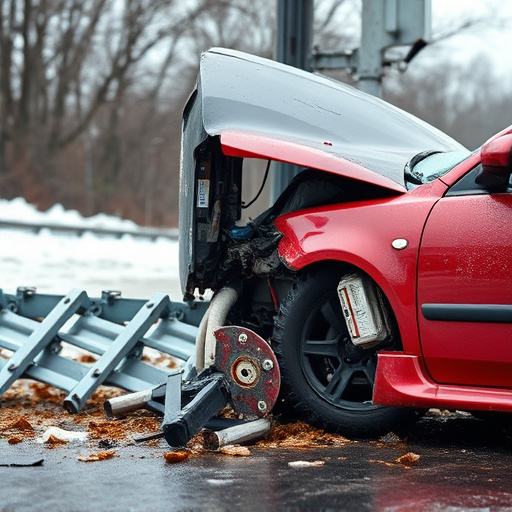
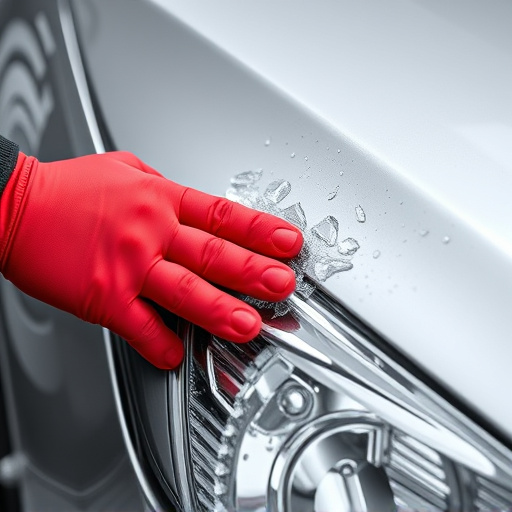
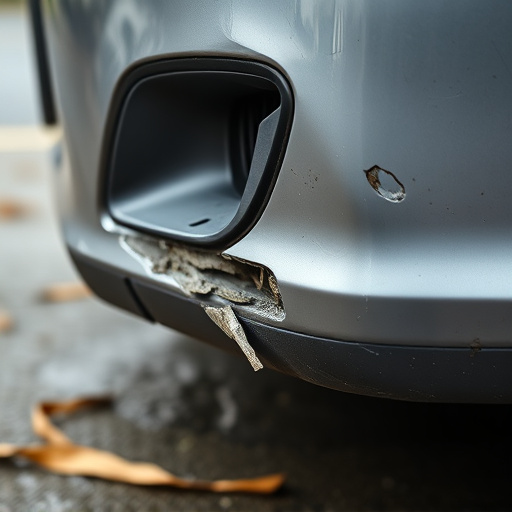
Demonting an old bumper is a crucial step in any OEM bumper replacement process. This meticulous task requires careful precision to ensure a seamless fit for the new bumper. Begin by securing the vehicle on a sturdy jack and placing safety stands to stabilize it. Next, locate the bumper supports and carefully remove them using the appropriate tools. These supports often secure the bumper to the vehicle’s frame. With the supports detached, the old bumper can now be freed from its attachments. This may involve unfastening retaining clips, bolts, or screws that hold the bumper in place.
As you work, keep an eye on any surrounding components and carefully detach any connected parts like sensors or lights. Once the bumper is loose, it can be lowered gently from the vehicle. It’s essential to inspect the area for any signs of damage or corrosion, as this will impact the overall OEM bumper replacement process. This step-by-step approach ensures that the new bumper will fit perfectly, aligning with the vehicle’s design and providing a reliable auto body shop solution for your car bodywork services needs.
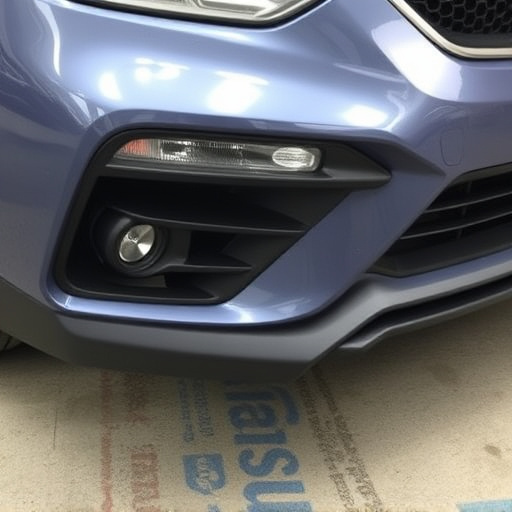
Installing the New OEM Bumper: A Detailed Process
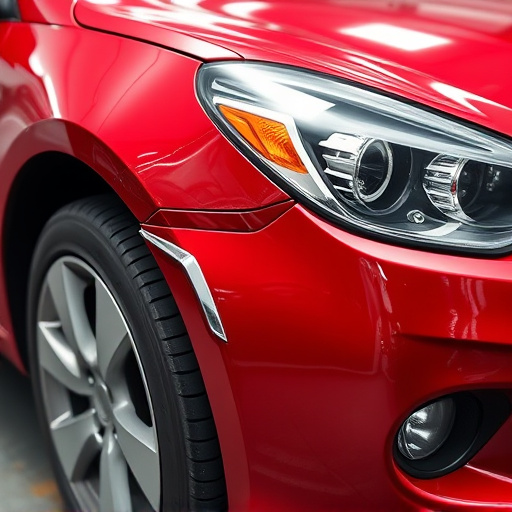
Installing a new OEM (Original Equipment Manufacturer) bumper involves a meticulous process designed to ensure precision and quality in auto body shops. It begins with preparing the vehicle, which includes thorough cleaning to remove any dirt or debris from the area around the damaged bumper. The old bumper is carefully removed, often involving disconnection of various components like sensors and lights, which requires skill and attention to detail.
Once the old bumper is off, the new OEM bumper is aligned precisely with the vehicle’s frame using specific markers and measurement tools. After alignment, the new bumper is secured in place using specialized hardware, ensuring a tight fit that maintains the vehicle’s structural integrity. This process not only involves physical labor but also requires knowledge of automotive engineering to achieve a flawless finish. A successful OEM bumper replacement can transform a vehicle’s appearance, enhancing its overall aesthetics and contributing to a seamless vehicle restoration or addressing minor car scratch repairs.
The process of an OEM bumper replacement involves a series of precise steps, from understanding the specialized parts to installing the new bumper with meticulous care. By carefully following these guides, car owners can efficiently and effectively restore their vehicle’s exterior, enhancing its aesthetic appeal and structural integrity. This step-by-step approach ensures a seamless transition, allowing drivers to hit the road with confidence knowing their vehicle is as safe and sound as ever. OEM bumper replacement is no longer a daunting task but a feasible, cost-effective solution for those seeking both style and safety.